RECONDITIONING OF 19th CENTURY FOLK ART SHIP MODEL
A FEW OBSERVATIONS
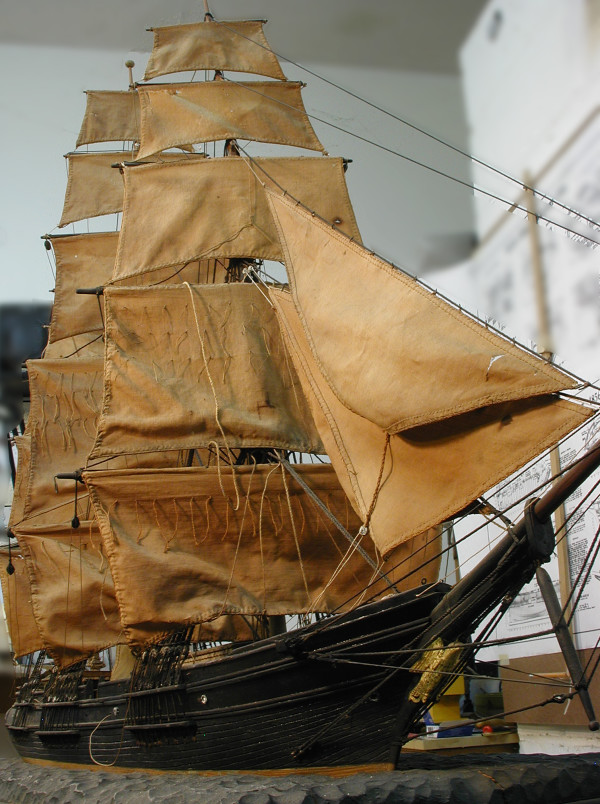
This is a moderately large model of a 19th century sailing ship. The display is what can loosely be termed diorama, as the ship is sitting in a base (more on this later) that represents a sea and she is moving through it.
While you could not call this a model built to fine scale tolerances, its proportions and artistic interpretation are very effective. It does portray a mid nineteenth century vessel, under sail in a very pleasing way. The level of detail is quite good for a model that would be called “folk art” and the builder’s knowledge of rigging and ship board systems is impressive.
HULL AND DECK FURNITURE
The hull appears to be carved from one piece of pine and then hollowed out. Of this I am not completely certain, but I have not seen any cracking along the hull that runs in a straight line (as along a failed glue joint), so this is just a guess on my part.
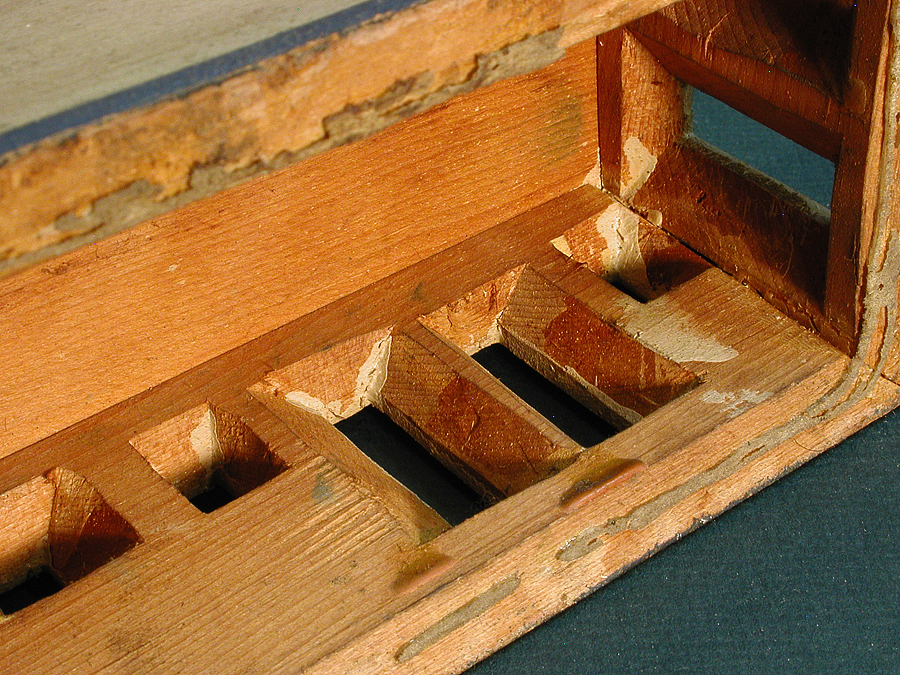
The deck furniture and fittings have been carved from solid wood. I would draw your attention to the large deck house abaft the foremast. It is made up of five component pieces (the 4 sides and the roof). It is wider at its base than at the roof and the roof has a strong camber to it. All four corners are mitered and glued together. The thickness of the stock used is about 3/8”, or so. But, if you look at the house, it appears to be made from much thinner stock.


This is because the builder back beveled all the door and window openings to less than 1/8” to give a more proportional appearance. Additionally, all the moldings around the openings, as well as the dental molding at the roof line and the base moldings at the deck level were carved from the original stock, not applied.
SPARS AND RIGGING
The masts and yards are all, as far as I can tell, original to the model. They exhibit distinct yard arms and all yards that should have stun’sail (studding sail) boom brackets, have them. All the booms, save one, are lost. I found the sole survivor in the forward hold of the ship. I saw no reason to remove it. It is there now. The deadeyes for the standing rigging and the small bulls eyes used for some of the running rigging are, regrettably, made of lead. The “bloom” is evidenced by the fuzzy white appearance of many of these parts.
The fore topmast and main topmast doublings are supported and held in place by cross trees and mast caps made of wood and metal. For some reason I cannot explain, these fittings are deteriorating and are beginning to fall apart. They are fine for the time being, but there will come a day (hopefully many years in the future), when this will need to be addressed. This would mean de-rigging most of the model at these two masts, replacing the defective parts and re-assembly.
All sails are here and appear to be original to the model. They exhibit great care in their execution and installation.
When I first saw the model, my impression was that most of the rigging was original. On closer inspection, I found this was not quite true. As is the case with most unprotected models of this age, the rigging is almost always the first casualty. You can clearly see the hand of someone other than the builder, who has made extensive, well intentioned but misguided repairs to the rigging. The physical skill level, the understanding of the function of the rigging components and in some cases, the replacement material choice is plainly not up to the standards of the original builder. If I were to estimate the amount of original rigging on the model, prior to my working on it, I would say: for standing rigging it would be about 95% and running rigging roughly 60%.
DISPLAY BASE
The display base, as I mentioned earlier, depicts a sea through which the ship is moving. This is roughly carved and not really meant to depict a particular sea state. It is meant as more of an impression and it does this quite nicely. It was built from pine boards that have split over the years (from too little moisture, I would guess) and no repairs or efforts to rehydrate have been made by me during these repairs.
The rest of the base is something to see. Immediately below the carved sea is a 1-1/2” gadroon on all four sides which terminate at each corner in a slightly raised pad whose radius matches the gadroon. A bas relief five pointed star is at the center of each pad. The star is either painted gold or has been coated with a bronzing powder-it is hard to say for certain. All of this rests on four scroll style feet.
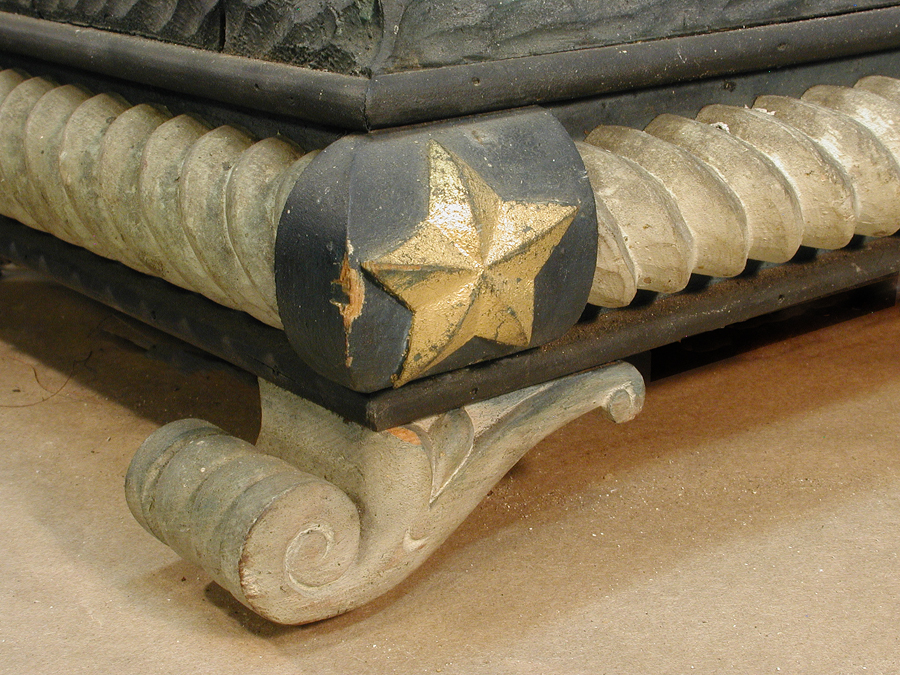
There is some wear on the base and a few small chips here and there, but nothing unusual for a piece this age. In fact, it has remained untouched, over the years. When you consider that the entire piece has been unprotected for most, if not all its life, it is in very good condition, indeed.
WHAT WAS DONE DURING THIS REPAIR
Before we go any further, I need to say a few words about the person who made repairs to the model before it came to my shop. By necessity I will, have to refer to this person from time to time throughout this document. This person will be referred to, hereafter as “the UH” or simply “UH”, an abbreviation for “Unknown Hand”. It is the simplest way of saying that we don’t know who this person is (was), and that we need to make reference to their work.
CLEANING
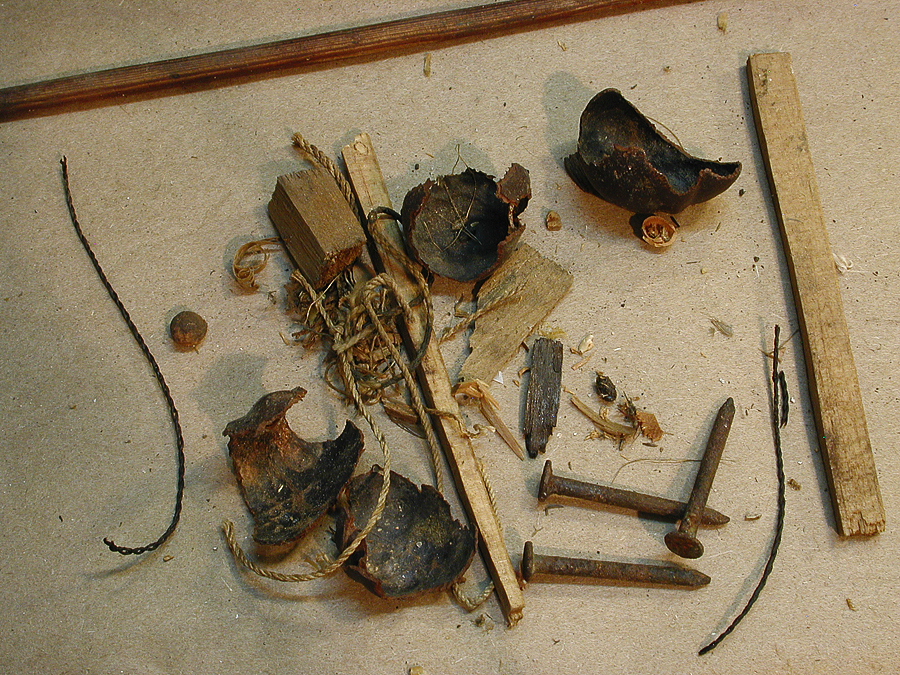
In a effort to retain as much of the patina as possible, the ship was given several “dry” cleanings, using only a vacuum cleaner, a brush and compressed air. I removed much of the bloom from the lead fittings, but it has proved to be very stubborn and quite a bit remains on the model. As work progressed, a bit more would fall off from time to time. At some point, the model was home to some form of rodentia, as I found ample evidence of nest and food remnants (the dark curved pieces in the photo are chestnut shells).
The rest of the time was spent solely on the rigging. There were many issues that needed to be addressed.
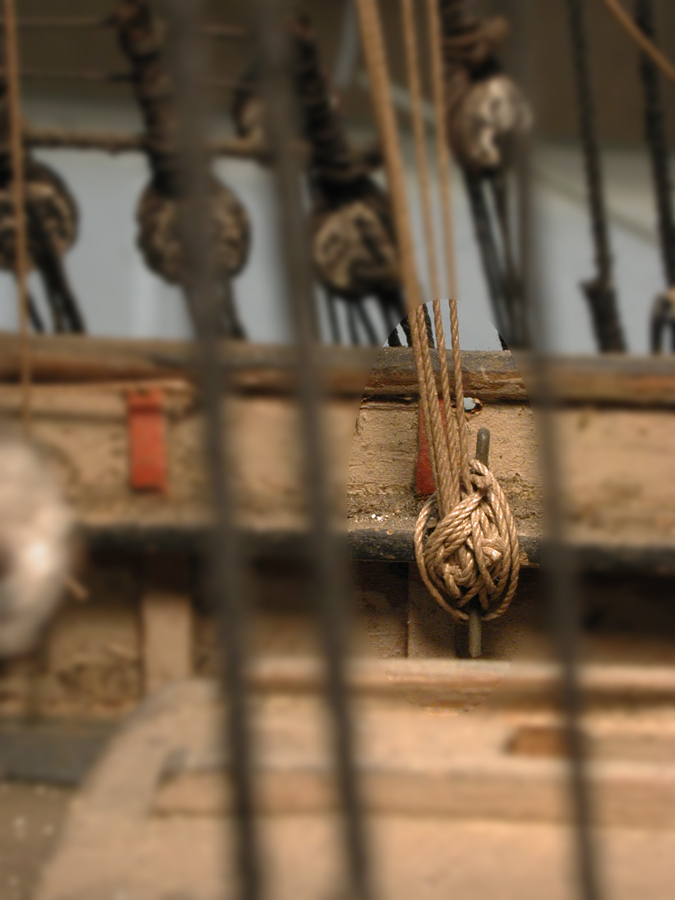
First was the question of belaying points. This model has more running lines than it has belaying points to accommodate them. The UH simply dealt with this problem by gathering up a number (ex.: four halyards were bunched together) of running rigging lines and tying them off, en mass, to one belaying pin. This was not something I wanted to repeat. I noticed that there were many more belaying pins holes in the pin rails than there were belaying pins. The logical conclusion was that over time, the pins were lost, or not replaced during the earlier repairs. There were two styles of pins on the model: one was a simple straight piece of wire .023”in diameter and about ¾” long, the other had a bend in the top forming an eye which was then flattened, also about ¾” long. I made a random number of each and filled the empty spots on the rails. Sad to say, this was still not enough. I thought about drilling more holes. But, this is something to be avoided if at all possible, as it is not in keeping with the intentions of the original builder. Even with the new pins, I still had to resort to doubling up lines at ten spots on the model (5 port, 5 starboard).
 This shows the cluster of four halyards tied off on one pin.
Another issue that consumed a lot of time was trying to determine the intent of the original builder from the state the model was in when I first saw it. For example, some of the larger sails have buntlines and clewlines. Then there are sails that do not show any telltale signs of ever having had these lines. There were places on the yards where it is easy to see that small blocks had been attached (to handle sheets and the like). And yet, the spar right below it would show no such evidence. Finally, I decided that the rigging I put on the model would only reflect what I was certain was on the model when originally built. Hence there are sails that do not have buntlines and clewlines because I could find no definitive evidence that particular sail ever carried them. All sails do have sheets, however.
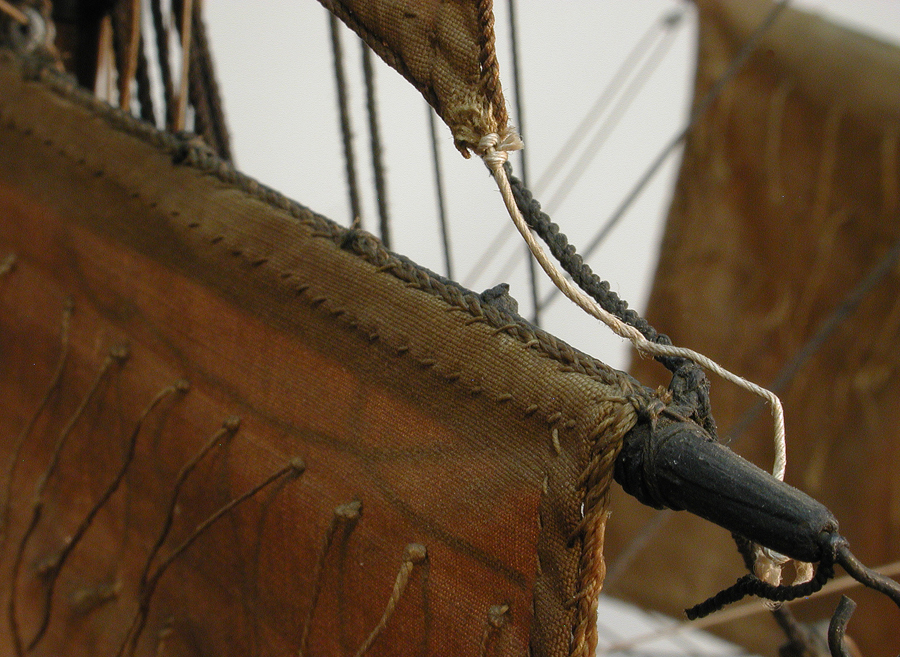
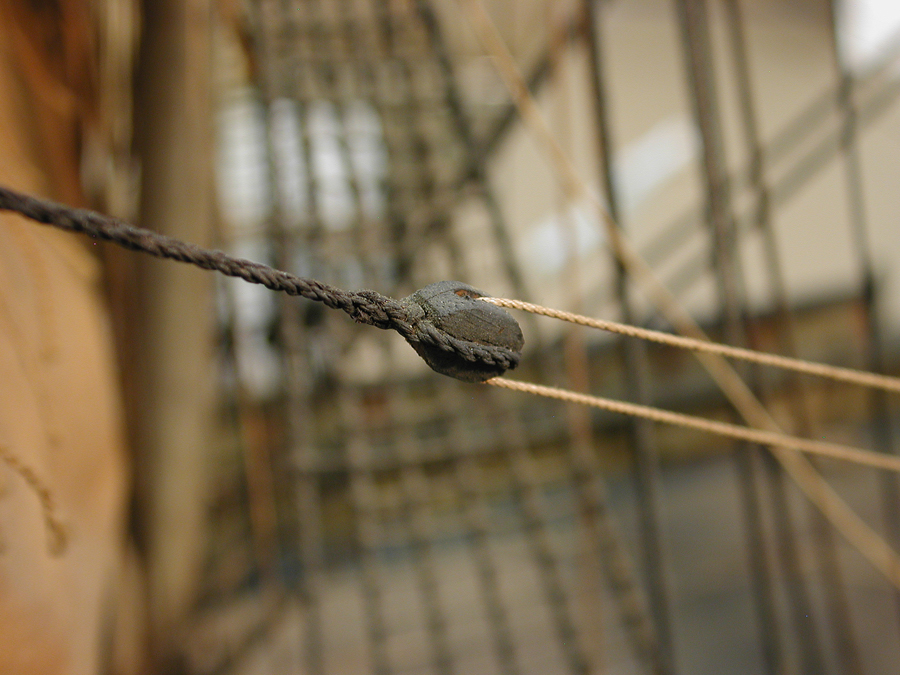
The photo on the left shows a non original piece of rigging. On the right is the fore yard portside brace pendant. Note the carefully spliced line and handmade block with working sheave.
An area where there was little room for conjecture was the UH’s repairs at the foot of the sails. There are through holes in all the yards for a sheet to run from the clew of the sail, through the yard, next to a block attached to the yard and then down to the deck to be belayed. The UH simply used these holes as a convenient way to secure the foot of the sail to the yard. The original builder made real eye splices on rigging that was of a larger diameter. The UH would just tie off the line with an incorrectly tied clove hitch. In my replacement rigging, wherever practical, I made eye splices in the ends of the lines.
One instance where it was necessary to take splicing a step further was on the fore yard lift, port side. The line was original to the model and was positioned on the yard in direct contact with both the sail lacings and the tie off point for the footrope. If I tried to get just the one offending piece off, it was very likely I would have disturbed everything. I decided to end splice a new piece onto the existing lift, thereby avoiding having to disturb all abutting lines. The photos below show the steps.
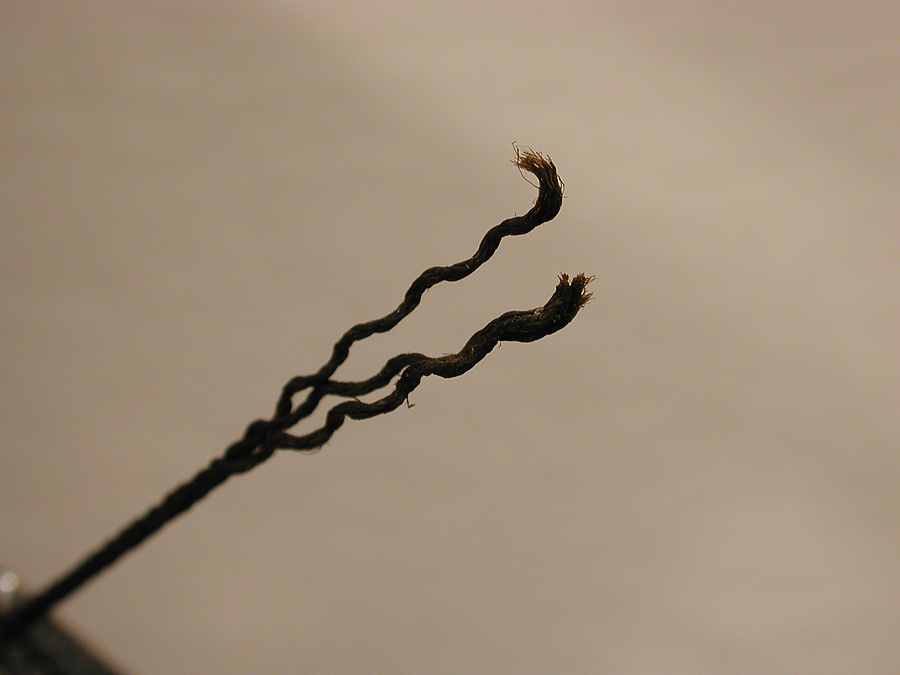
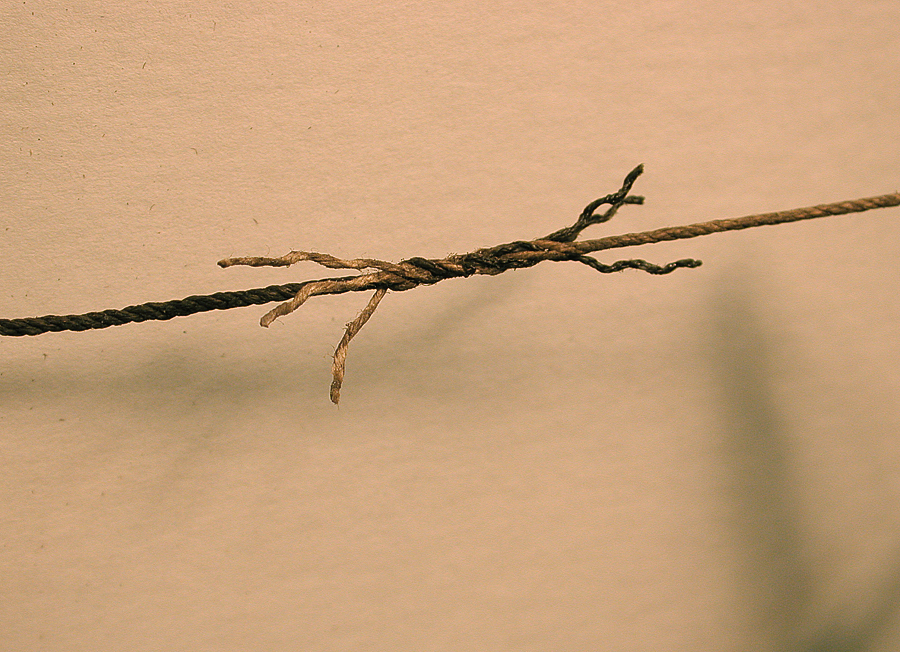
Left is the broken end of the original line. Right: Splice with 2 tucks per side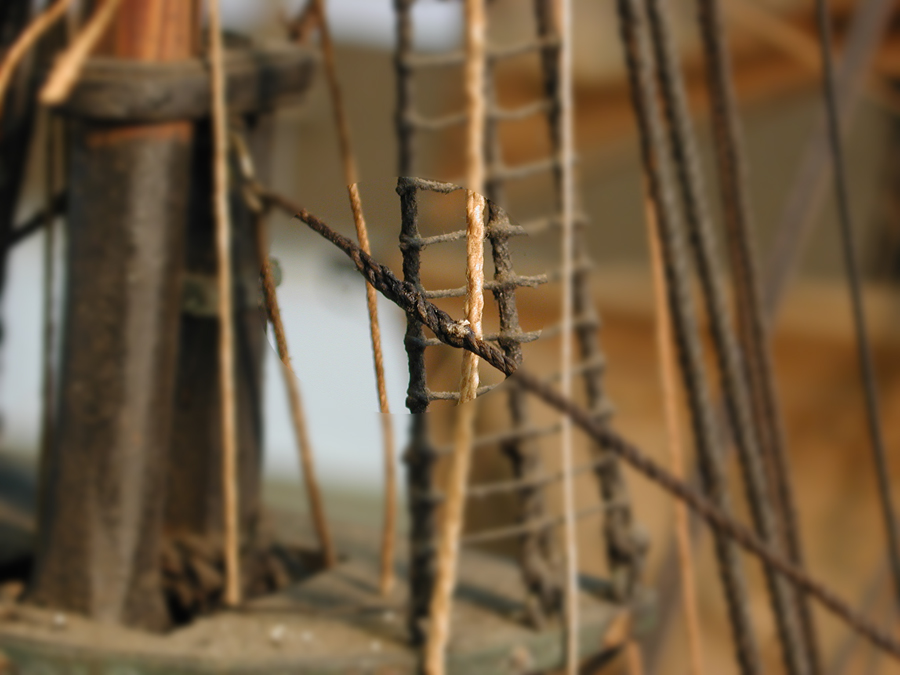
The lift re-installed on the model.
The newly spliced lift is not easily seen on the model. It is tucked away at the foremast top and behind the fore topsail. Perhaps if it were in a more highly visible spot, I would have opted for a whole new line. But given its location, I felt it was more important to preserve any original rigging I could.
After these larger concerns were addressed, I spent the remainder of my time taking off the parted lines on the main and mizzen masts and replacing most of the broken sheets and braces.
And here is the repaired model: