Restoration of a Large Sailing Model, 4
PART TWO
From this point on, the actual repair work begins

For ease of transportation to my studio, all of the temporary rigging was removed, the model was dis-masted and it was packed into my car.
Once in the studio, many “before” photos were taken and there was much poking and prodding. Although this is not a scale model, I felt I needed to determine a rough approximation of the scale, given the many new parts I would have to produce and I would need to pick the right sizes for the rigging lines. I went on the assumption that this was a 75 foot vessel. For its overall size, it makes the scale roughly 1:19. This was how I calculated the sizes of everything I made for the model during this project.
It was during this early, exploratory phase that I discovered the broken garboard and the rodent nest. These two items were the first things I took care of, formally commencing the “repair” phase.
THE HULL
THE GARBOARD PLANK came off the model very easily. With that piece out of the way, I started dismantling the nest. This took about an hour. It was packed much tighter than I would have ever guessed. And, at the end of it, I had filled a large shopping bag more than half way up with the material.
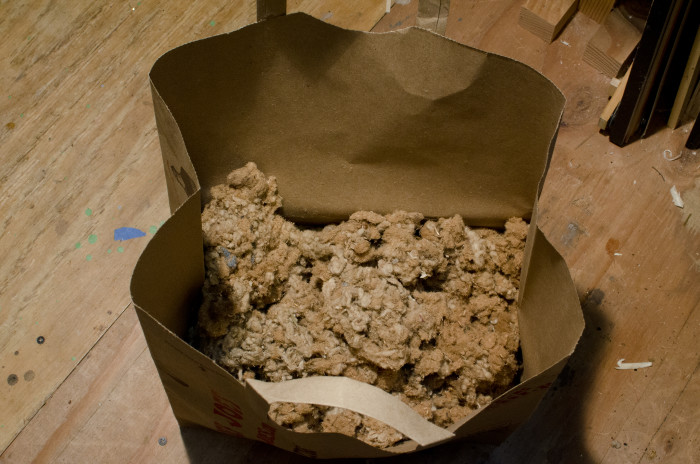
Figure 10 One can only guess how long it must have taken them to gather all this into the hold of the model.
With the interior now cleared out, I had a much better idea of the condition of the hull. I was not encouraged. Many of the frames were loose and laying inside the model and many more are in precarious condition, at best. This was a sailing model, so it probably spent a fair amount of time in the water. And, even if it didn’t get used a lot, more than one hundred years of exposure to the elements and changing environmental factors have taken their toll on the iron fastenings and the hide glue.
I wish I could say that I was able to put all the frames back in their proper place, but they could not be re-installed given the extremely delicate condition of the hull’s internal structure and the very limited access I had to the model’s interior.
To that job properly, I would have to remove nearly all of the planking. Some method for stabilizing the shape of the hull would need to be employed. And addressing one frame at a time, remove the rusted nails, clean the old glue off and try to re-install the frame in its original position so that when the planking is put back, everything lines up. This type of work would take many times longer to complete than it took to build the original model. Needless to say, the cost would be astronomical and, given what little we know about the historical significance of this model, not really appropriate.
Considering what I said in the last three paragraphs, the prognosis is not grim, at all. There are still many sound frames remaining and the model’s active life as a pond sailor is long over. Which means it will now live the pampered existence of a static display model. In the hands of its current owner, it will have a temperate and stable environment. With a bit of care, the hull will last a good long time.
To repair the garboard, I machined a piece of pine roughly 5/32” thick. I dressed the ends of the original pieces of the plank. Then fit and glued the new patch in. I chose to use epoxy as the glue for two reasons: first, it is very strong, sets quickly and it tolerant to small amounts of dirt and debris. And the more important reason to me was that I was not going to be able to use any nails, as the original builder did. I was going to have to rely on the strength of the adhesive to bond three less than perfectly fitted parts and have it be strong enough to be worked into shape and then last over time. Yellow glue or white glue would not have worked, here. I purposely left the patch overly thick because I wanted to be able to contour it into the original pieces at both its ends. When the shaping was done, I primed and painted it.
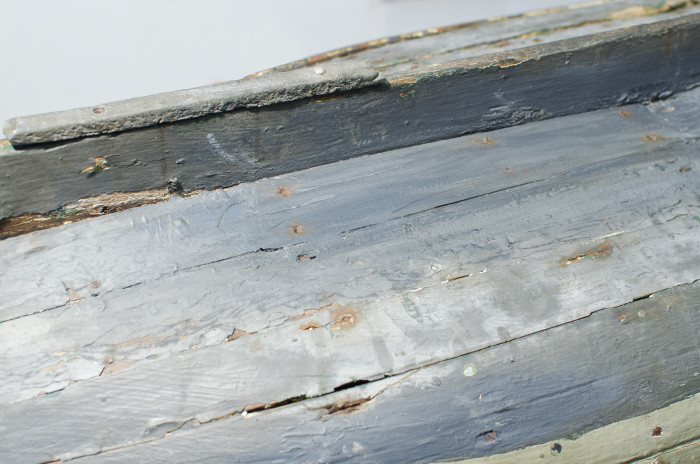
Figure 11 New garboard installed and painted. Note the six “nail holes” with rust stains. There are no actual nails in there.
Even though this patch is on the bottom of the model, I wanted it to look as much as though it belonged there as possible. So, I made six false nail holes and painted them in with the appropriate rust colored tones.
I could now turn the model right side up and address the other issues on the hull.
THE WINDLASS BRAKE on the foc’sle deck was missing one of its handles. A new one was made and fitted into the hole.
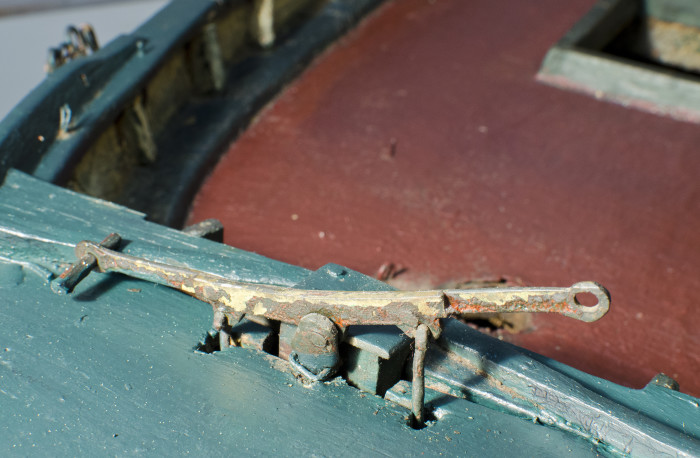
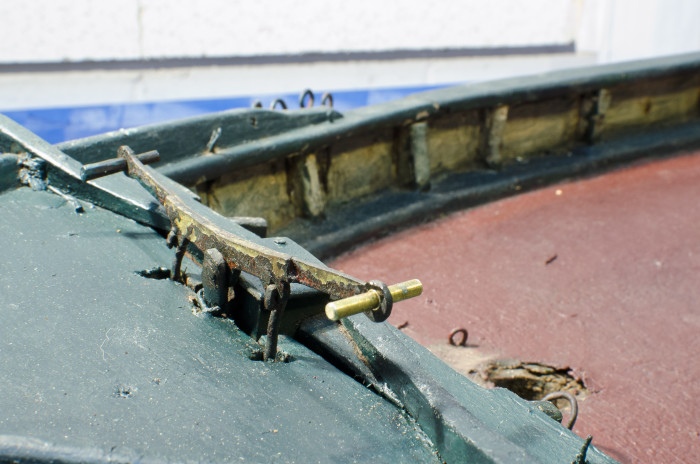
Figure 12 Windlass Brake Figure 13 Brake with new handle
As mentioned earlier, the decks and the cabin roof needed to be over painted. I mixed up suitable amounts of the shades I needed and applied them only thick enough to cover most of the white speckles on the surfaces. I made no attempt to replace missing paint on the rest of the model.
THE CABIN needed a base molding around its perimeter. I suspected the molding that was on it was not the original. And, I had my suspicions confirmed when I removed the cabin from the model. On the quarterdeck, I could see a paint line and a shadow where the present molding sat. It was about 3/16” wide, half the width of the current molding. I discovered a similar situation when I removed the molding from the cabin sides. There was clearly, a ghost image of the original molding, also about 3/16” high. I ripped a piece of pine (most of the model seems to be pine and cedar) to the original dimensions and gave the outer edge a 1/8” radius. After gluing the new moldings in place, they were primed and then painted with the same color as the cabin roof.
Next to be dealt with was the forward end of the cabin. There was a 1/16” thick piece of white oak nailed to the forward end of the cabin as a means of finishing off the cabin-to-quarterdeck joint. It only had one of its two nails left holding it in place and it was certainly not original to the model. I removed it, not to be re-installed. I replaced it with a piece of pine, 1/16” thick with a camber on the upper edge that matches the roof camber on the cabin. It overlaps the break of the quarterdeck by about half. This was painted to match the moldings and roof.
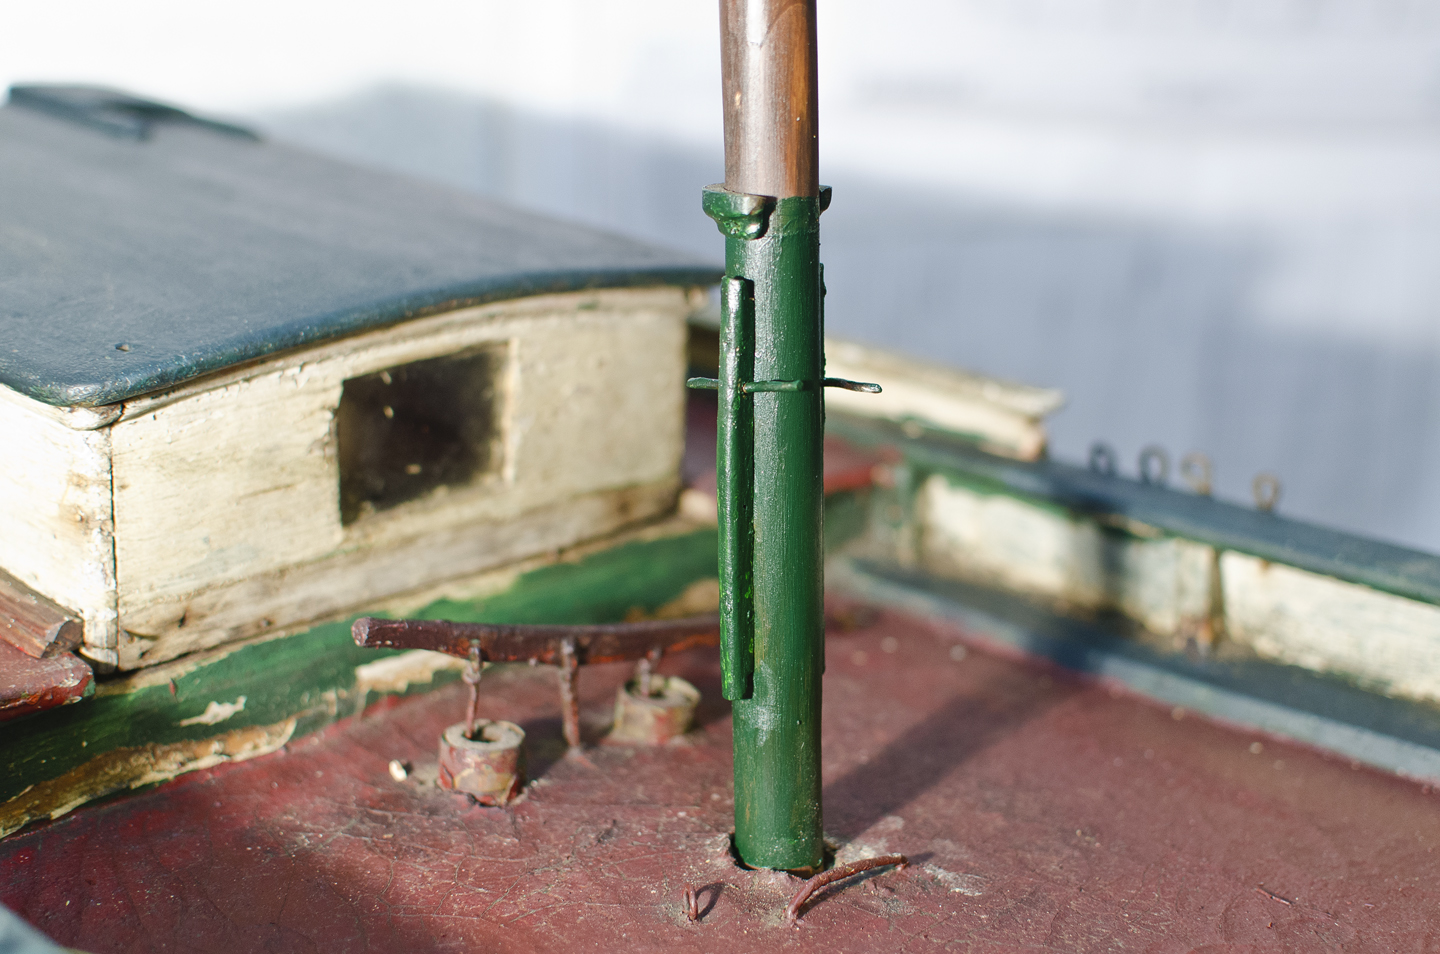
Figure 14 This photo was taken to show the repairs to the mainmast, but it also shows the forward end of the cabin with the ghost image of the molding and the oversized replacement molding, just to the left.
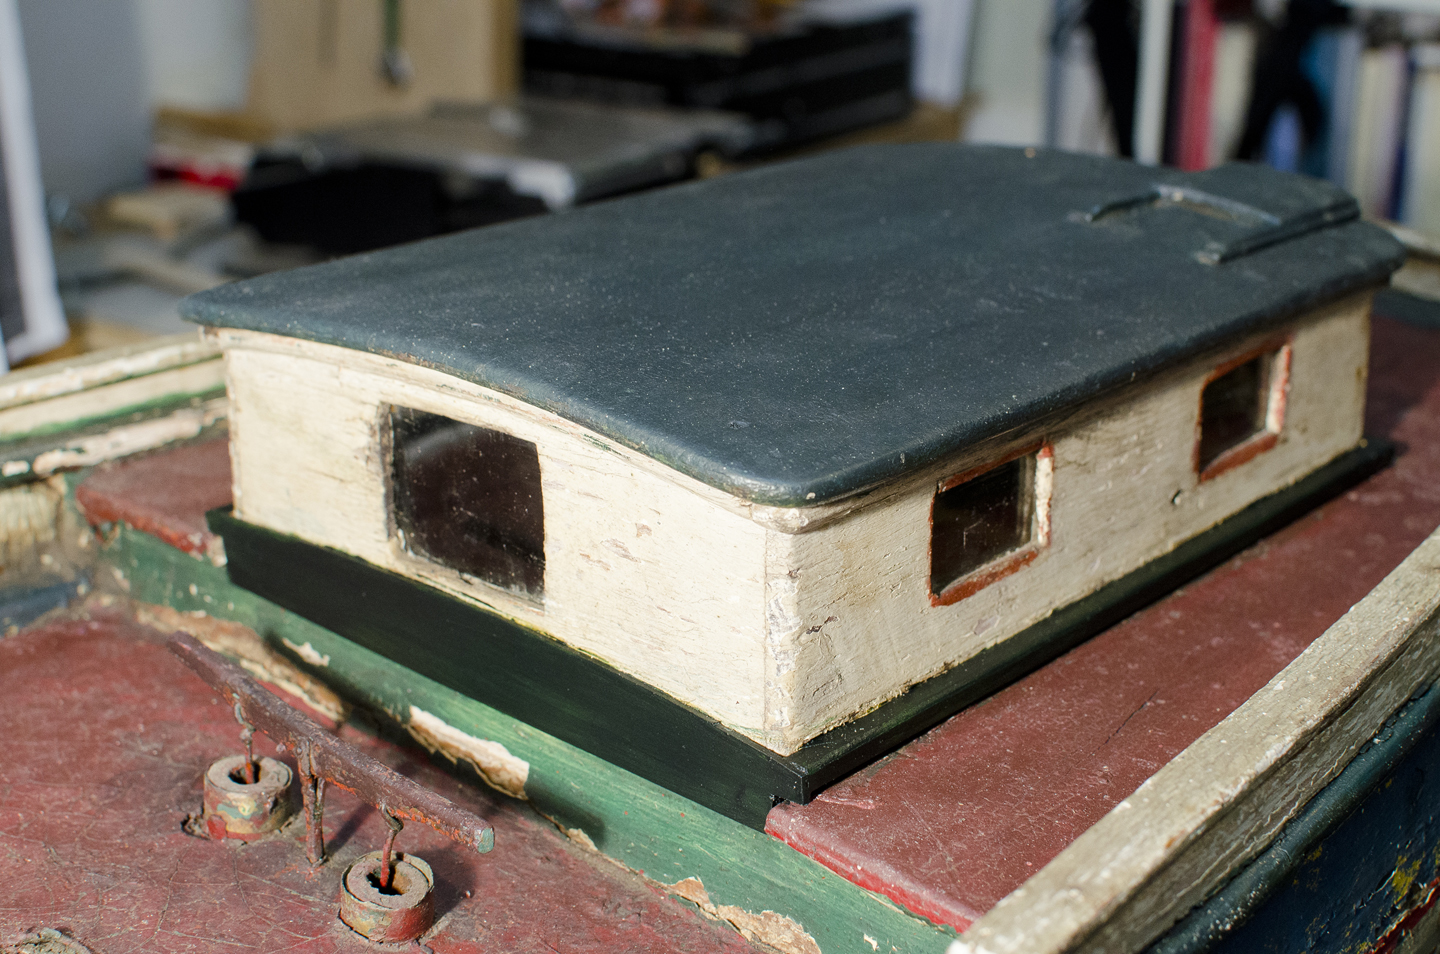
Figure 15 New moldings and paint to finish off the cabin.
Leave a Reply